a muralist’s guide to prepping a wall
Whether you’re a muralist or looking to hire one, prepping the wall is, in my opinion, the MOST vital stage of the mural painting process and it’s important that you know how to do this properly so you can create the best surface to take the paint that will create the mural artwork. It’s the foundation for a great, long lasting mural. Without a strong foundation the mural might peel, fade or simply wash away…If you’re working with a muralist, you might want to prep the wall yourself. This can sometimes reduce the artist costs and reduce timescales as the artist can get straight to painting the wall.
My process is to prepare the wall surface first and then apply at least 2 layers of paint and 2 topcoats. I brush on my designs, which takes longer, but means the paint is applied thicker and is less likely to flake away. It creates a mural that will last the test of time. If you’ve ever seen designs that are thin and flaking, most likely these were sprayed on to a surface that wasn’t prepared properly and without a top coat.
This guide should help you make the right decisions for your space. If you have any questions, feel free to contact me or why not book a free mural chat and I’d be happy to work with you to design something special for your space.
1. interior or exterior?
Interior walls are usually slightly easier to prep as they ‘normally’ have been painted with a water based paint which creates a good base for a mural. Exterior walls usually need a few extra measures to make them ready for a mural. The following pointers should cover any questions you have about prepping your wall.
2. clean the wall
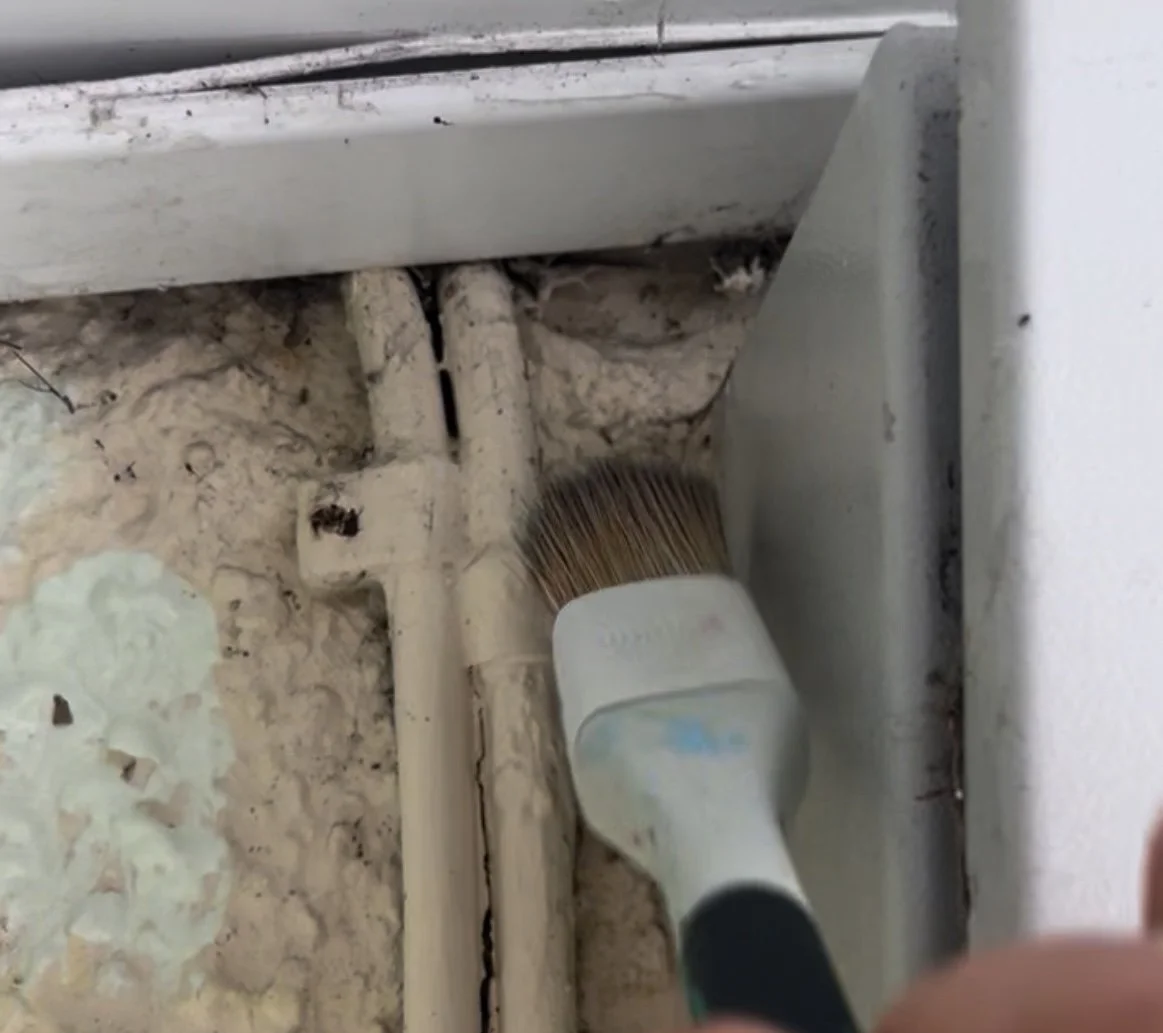
A simple step but a really important one that often get’s overlooked. Dusty, cobwebby walls will affect how well the paint sticks. To add longevity to a wall they should be wiped down with water and left to dry. This is more important for interior walls, exterior walls will be harder to clean (especially brick) but if you can, brush off loose particles and wipe with a damp cloth. Avoid using chemicals which can inerfere with the paint.
3. prep the wall
Brick, concrete, plaster, wood? It’s super important to treat the surface of your space with care to make the most out of your mural. Any seasoned muralist will know the best way to prep a wall before painting, but here are some top points to consider first:
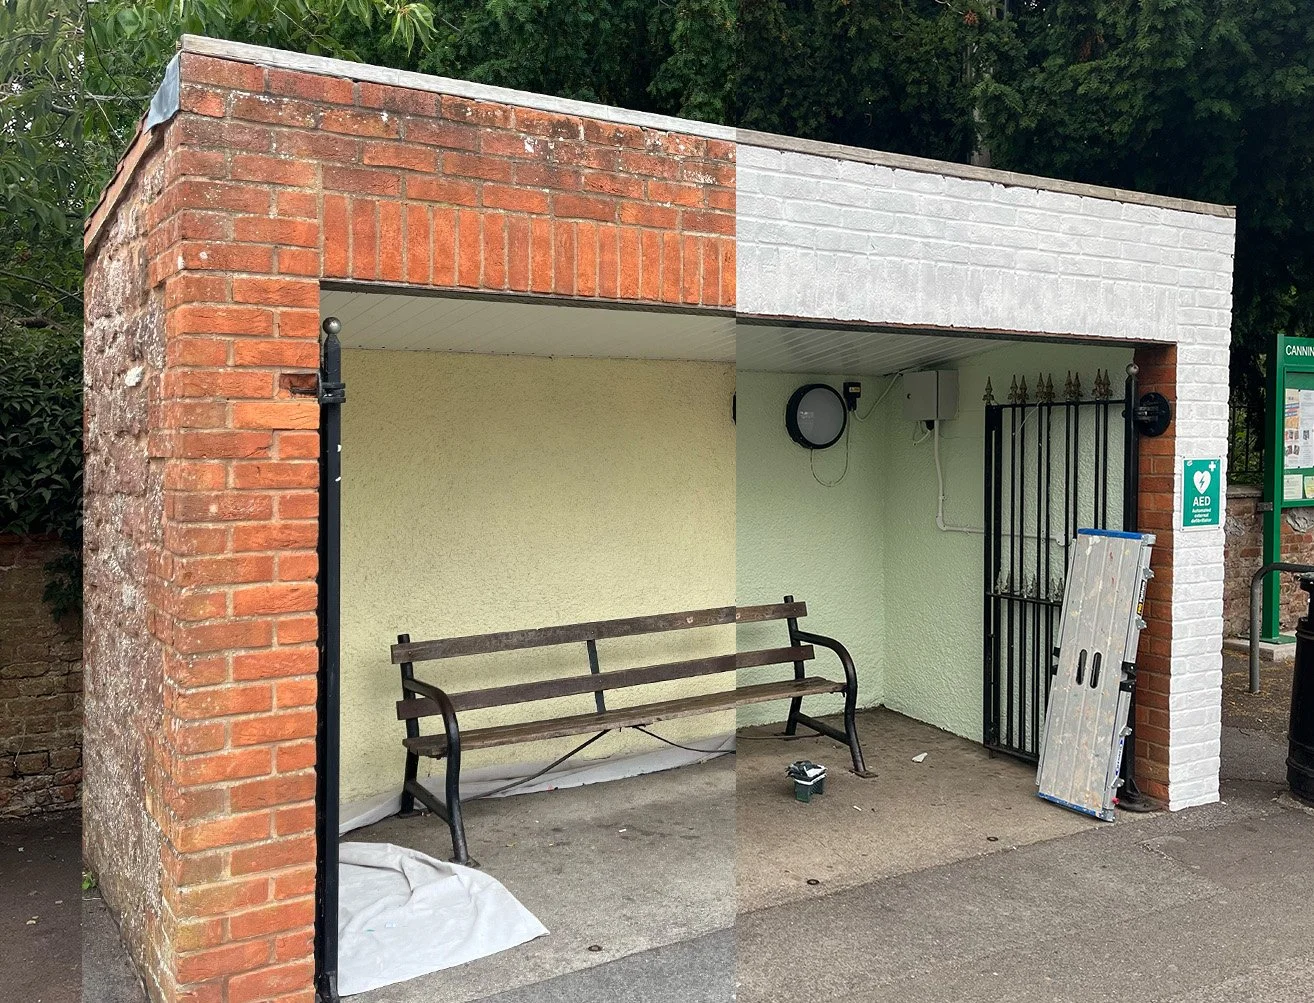
The brickwork of this bus stop has been preppared with a white stain blocking primer. The pebbledash inner wall was painted a pale green which created the background for the mural.
Brick can be painted but needs to be prepared with a white primer that blocks stains and allows the brick to ‘breathe’. There are specialist brick primers out there. The stain blocker will prevent orange/brown stains from leaking through into your mural. Make sure to brush off any loose sand or mortar with a wire brush before priming.
Wood must be treated similarly to brick. Brush or sand away any rough areas and use a water based primer. You may want to use a shellac knot blocker to prevent sap leaching into the mural from open knots in the wood.
If the wall has been painted with a water based matt emulsion the mural can be painted directly over the top. please note that a white or light grey base colour is best to allow the mural colours to pop. If your wall is a darker colour like navy, black or red, prep the surface by coating with a matt white. This will also reduce the mural installation time as it will cut down the number of coats of paints needed to cover old paintwork.
If the wall has previously been painted with an oil based paint there is a higher risk of the mural paint flaking, scratching or peeling away. The best option is to sand the surface to remove any shine and create a mechanical ‘key’ for the primer to adhere to. Something like Zinsser B-I-N Aqua can adhere well to old oil based coatings.
A primer like Zinsser 1-2-3 is a great product for many interior or exterior surfaces, including metal!
4. the weather and paint

If you happen to live on an island like me over here in the UK, you’ll potentially be used to changeable weather. Weather affects how well the paint ‘cures’. If your paint doesn’t have the correct conditions to fully dry, it may stay wet and wash away. I can even cause wrinkles in your paint as you add layers and eventually it will just slide off.
Most muralists will check the weather before they agree to paint. Here are some points to consider:
Interior painting can usually happen all year round (*so long as temperatures are above 8°C)
Exterior murals can only be painted during dry weather
Emulsions typically require 4 hours to dry between coats, longer in cooler weather.
Paint cannot be applied in temperatures below 8°C
Paint will dry extremely fast in very hot temperatures above 30°C which can cause paint to show cracks.
5. top coat
A top coat is going to make the mural last longer. I recommend a top coat with UV protection so the mural will be protected from rain (exterior murals) and sun (interior and exterior murals).
6. special scenarios
If you are working with a contractor, for instance with new buildings, make sure to check your insurance details, or ask the contractors or builders to include details that cover wall painting. Some new walls, like concrete, will only be insured if specialist paints are used to prepare the wall. If in doubt, ask!
If you have any more questions get in touch at hello@mamamurals.co.uk